How to Draw Grapes Step by Step
When you need to learn how to draw grapes easy enough for beginners, start a sketch with this tutorial.
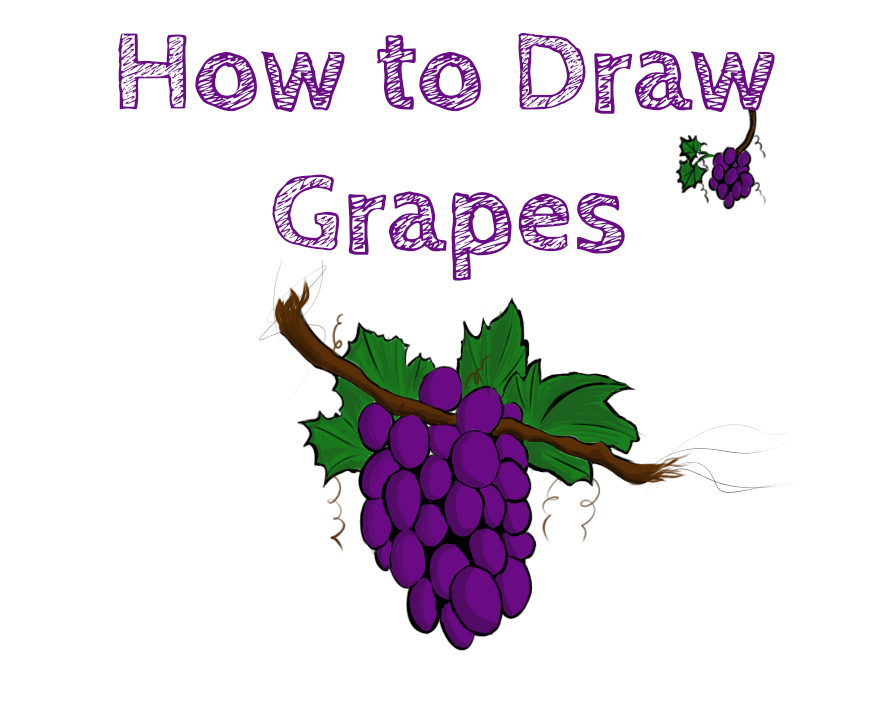
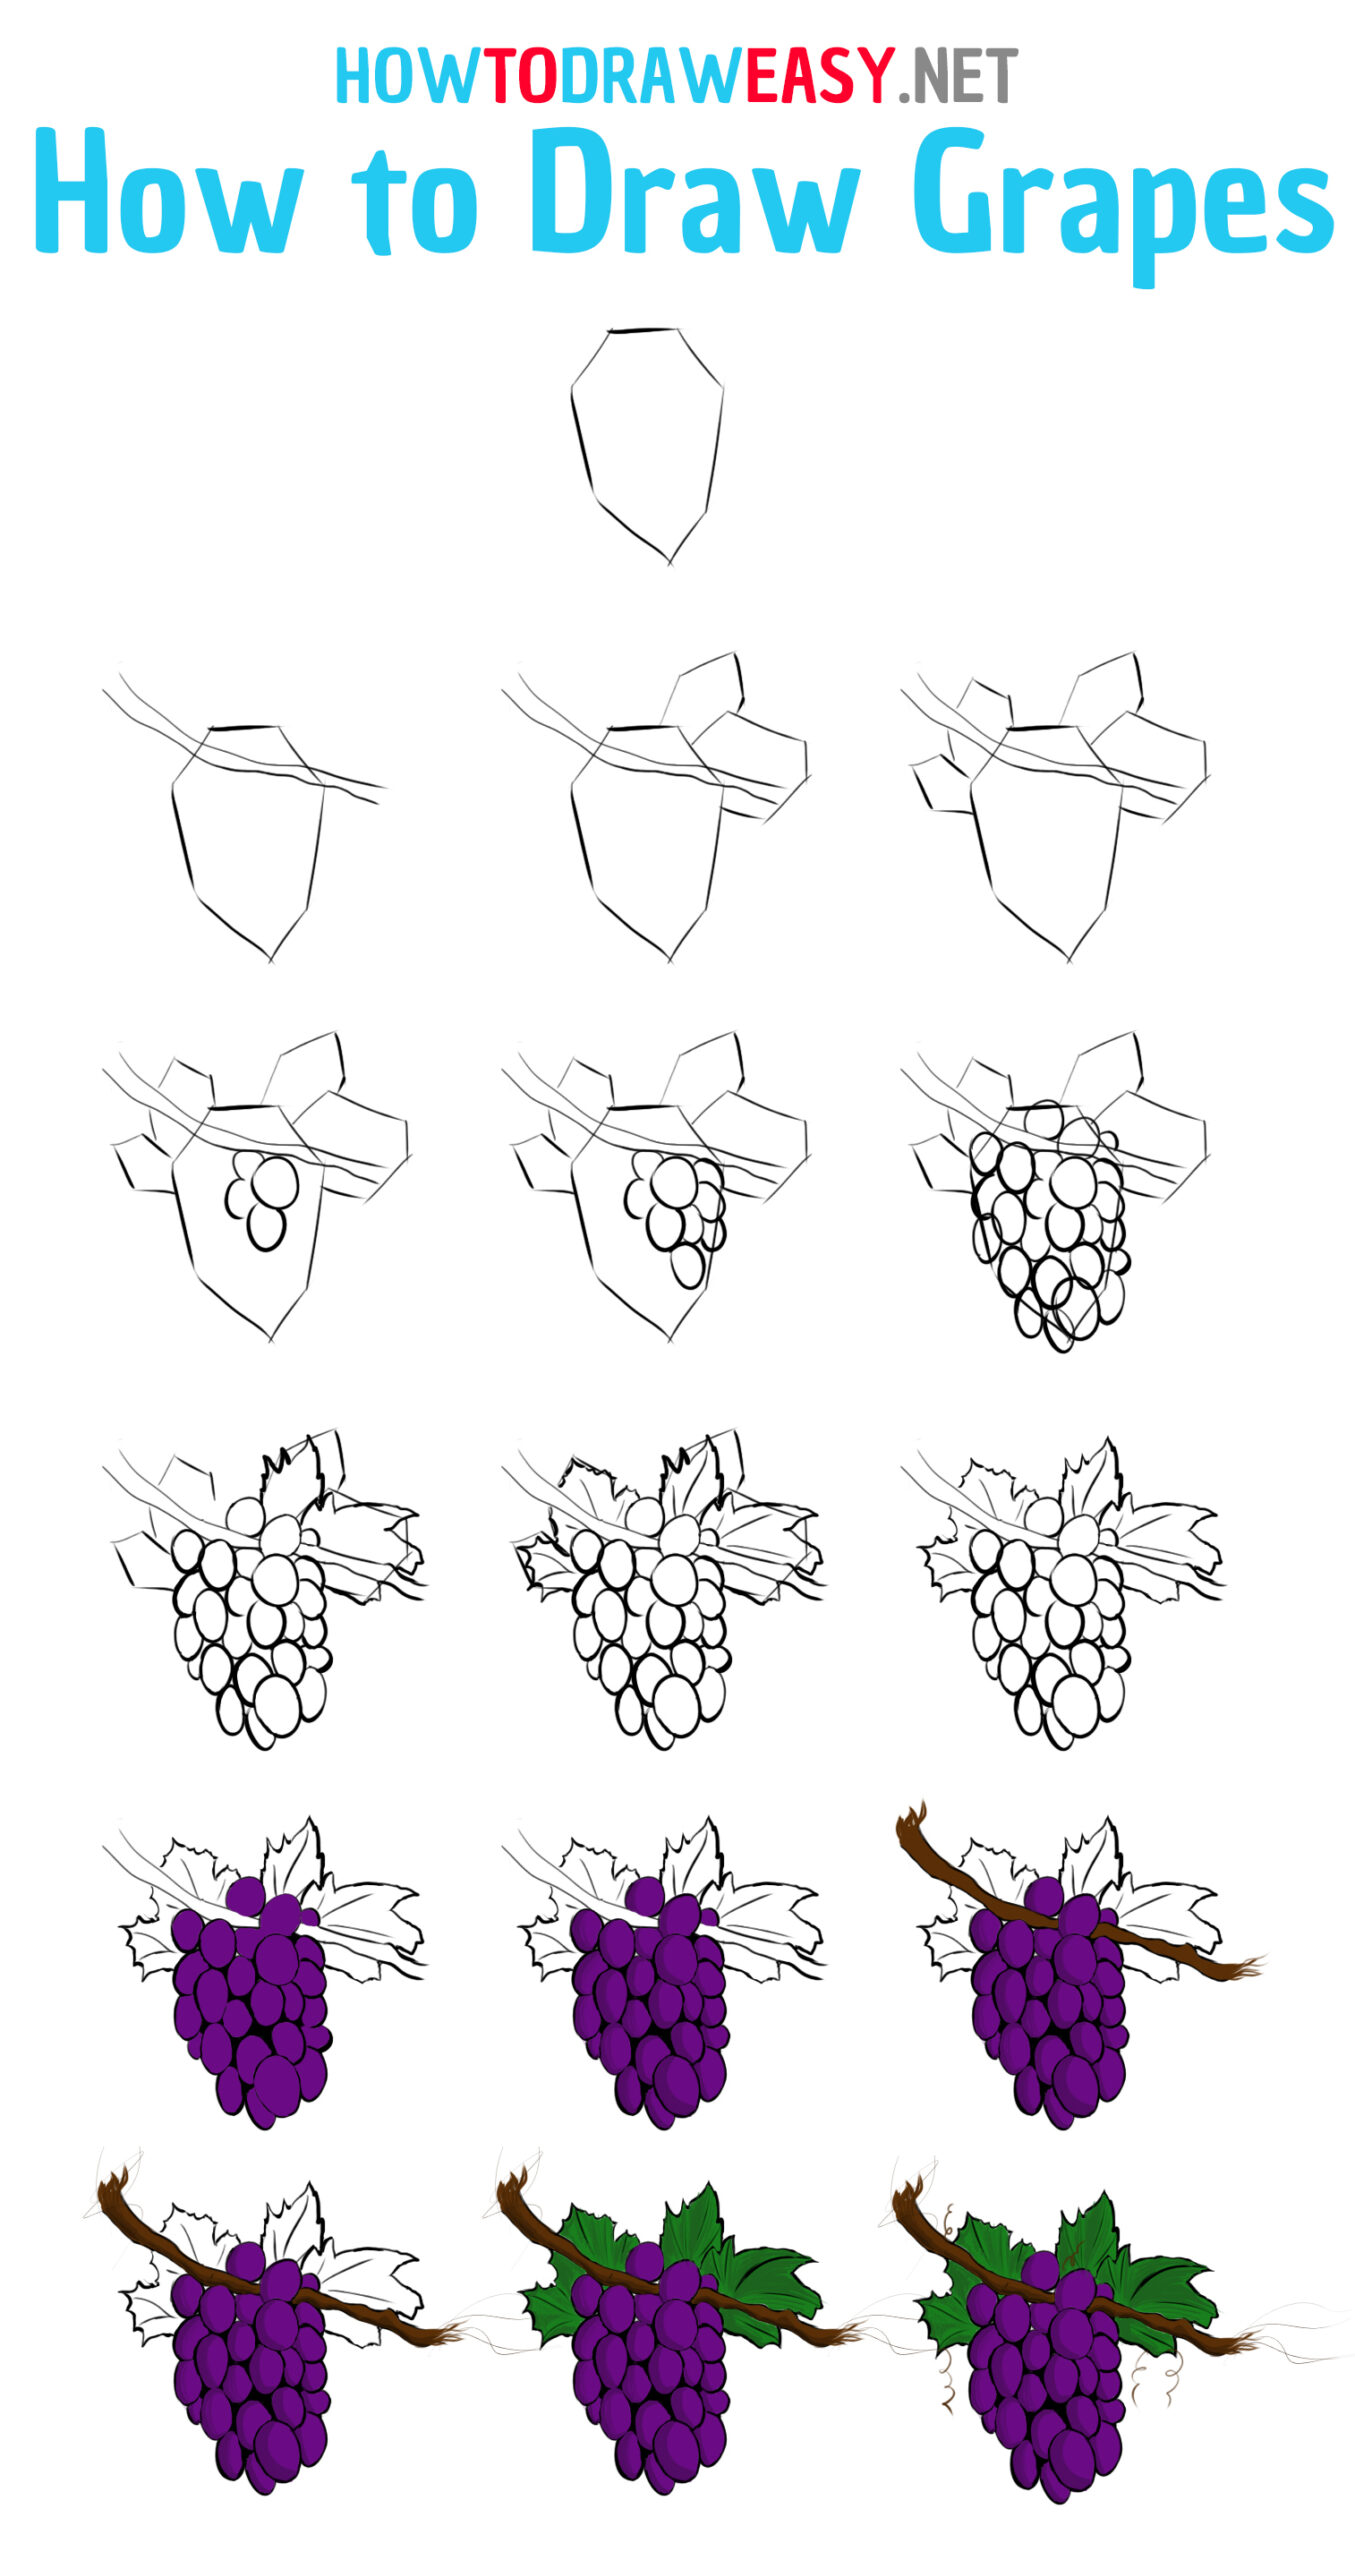
We present you a simple tutorial on how to draw grapes step by step, following steps that are easy and understandable even for beginners and kids. Grapes are one of the most popular fruits in the world, and many different things are made from grapes, these are juices, wine, sweets, and so on. Grapes are one of the most ancient fruits that people have used in their lives.
As you know, winemaking is also a very ancient craft, which originates from the Middle East. The oldest wineries are also in the Middle East, and as scientists say, the oldest winery is based in the Areni cave, which is located in Armenia. And a little further north, in the state of Georgia, ancient archaeological excavations of a developed wine-making culture were found. Also, the culture of winemaking was developed in Greece, and as many know, Greece is a very warm and favorable country for the growth of grapes. In Greece, besides these fruits, olives are also very popular. Later, winemaking moved to western and southern Europe, where winemaking acquired a larger scale production. For example, French wines are considered the best in the world by many wine experts. Also, excellent wine is made in Italy and Spain.
In addition to all this, grapes are very beneficial for health, because grapes improve blood circulation in the human body. In addition to drinks, grapes are dried and eaten dry, and it is quite tasty, and you can add such grapes to walnuts, hazelnuts, cashews, or to cakes and other desserts.
Now let's move on to step-by-step instructions that will help you draw grapes. We divided the drawing of grapes into many steps, which will show you in detail how you will need to depict each part of this drawing.
Time needed:45 minutes.
How to Draw Grapes
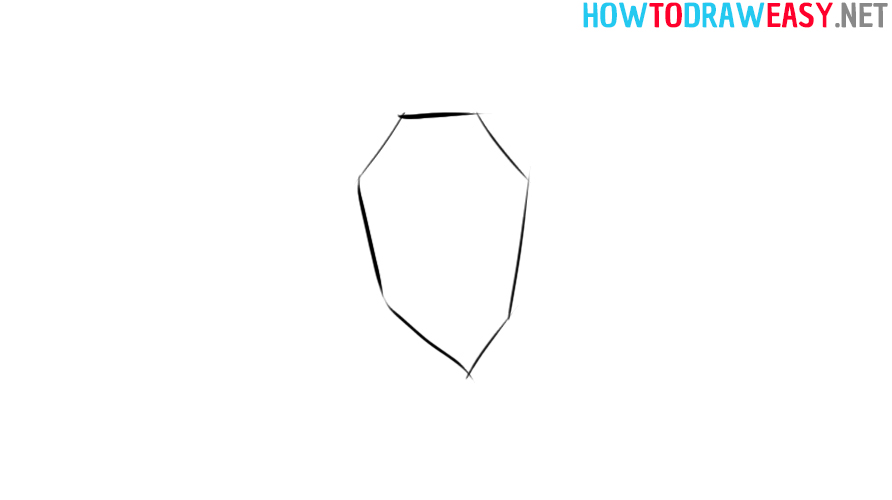
- Draw base lines.
First, you need to draw basic guidelines that visually look like some kind of emerald.
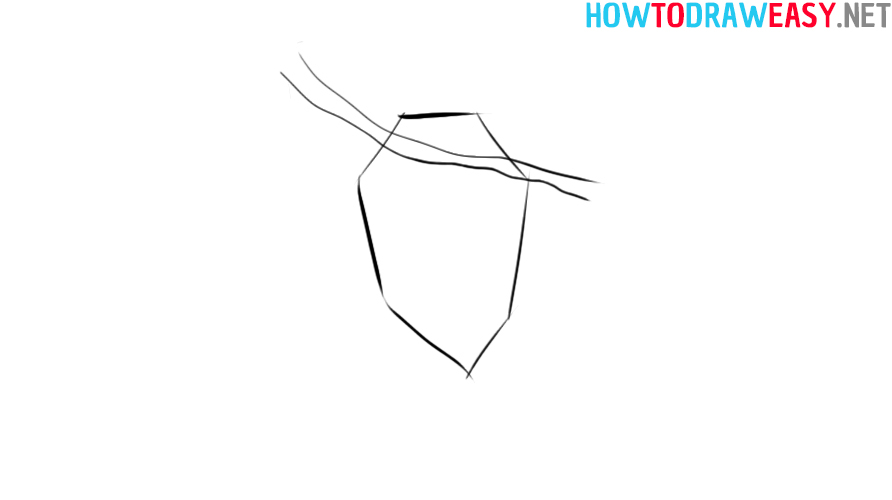
- Draw the lines of the branch.
Now draw the lines of the branch that will hold the bunch of grapes.
- Leaf guiding lines.
Continuing to draw the guiding baselines, in this step you need to draw the lines of the grapes leaves.
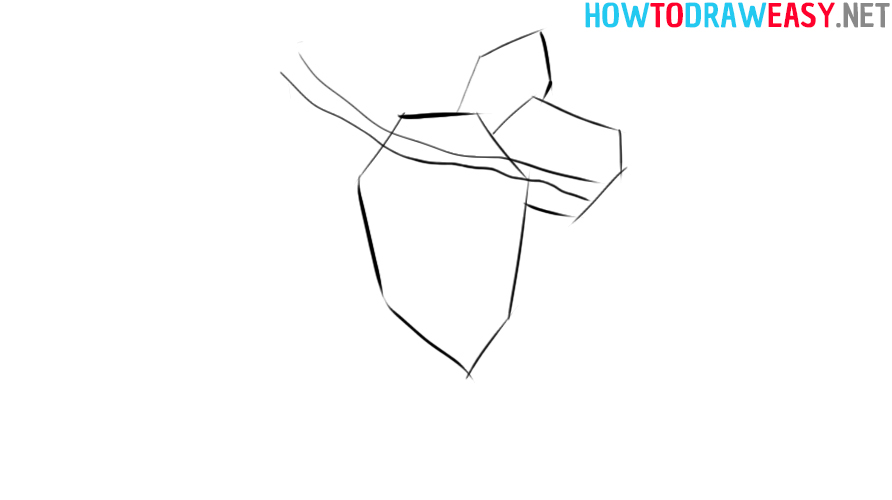
- The second part of the leaves.
Following the same principle as in the previous step, draw a shape for the leaves of the grapes, but now on the left side.
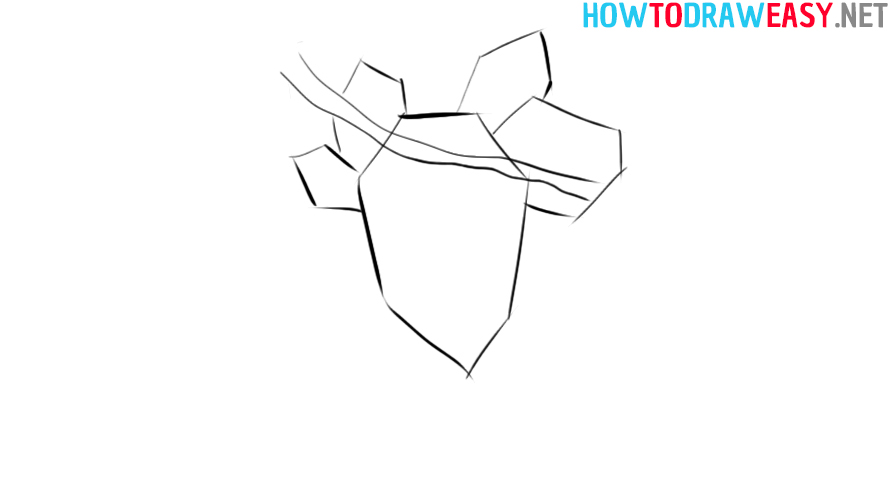
- The first grapes.
The basic sketch lines are ready, now draw the first sketches of the round grape berries.
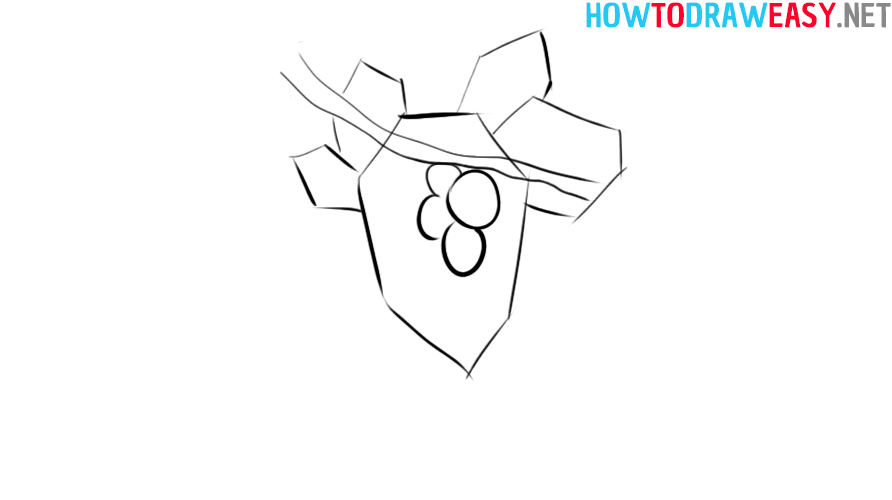
- Sketches of grapes.
Continue drawing circles of grape shapes, filling in the area you drew in the first step.
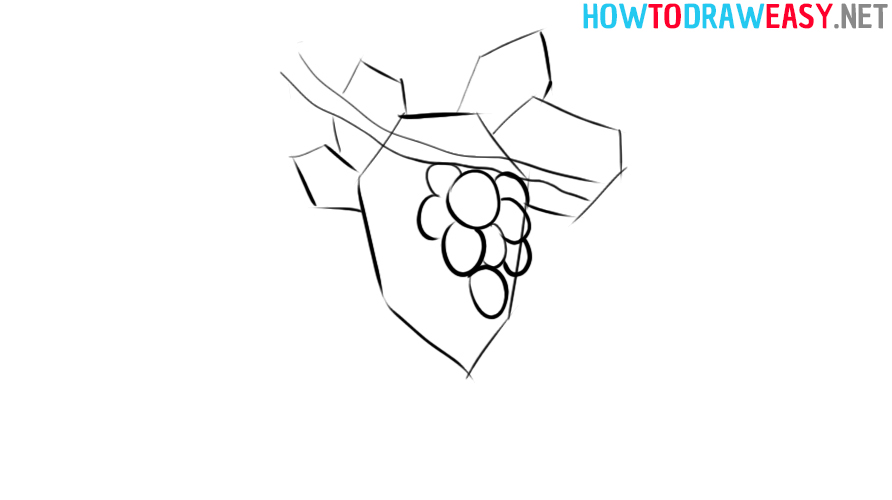
- Finish drawing the berries.
You need to complete the drawing of each grape in detail according to the example shown in this step.
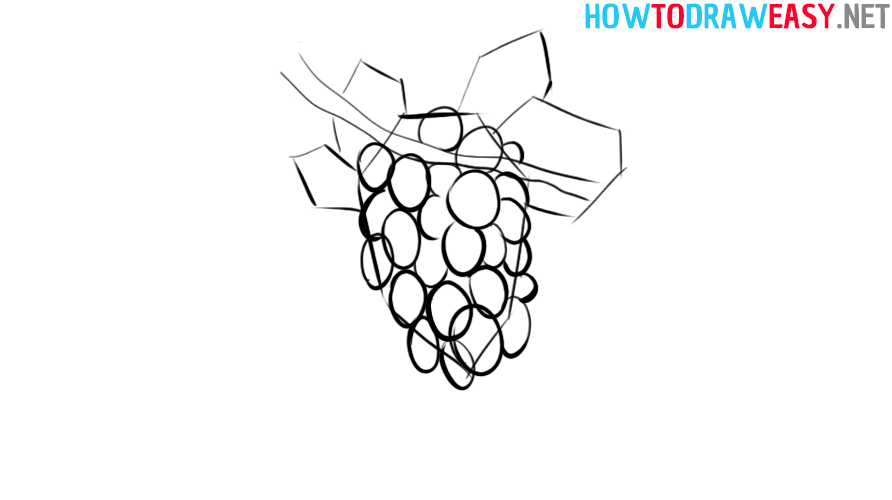
- Erase the guide lines
So, you filled in the entire area that you drew in the first step, now erase all the guidelines that were erased in this step in the example. Also, you need to draw the first part of the vine leaves.
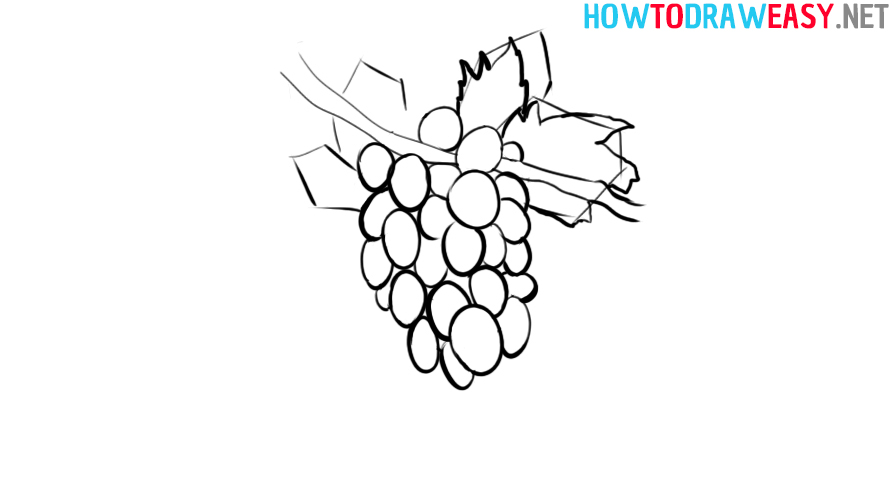
- The second part of the leaves.
Now draw the rest of the grape leaves, which are visually on the left side of the sketch. In addition, draw lines that detail the visual appearance of the leaves and make them more natural.
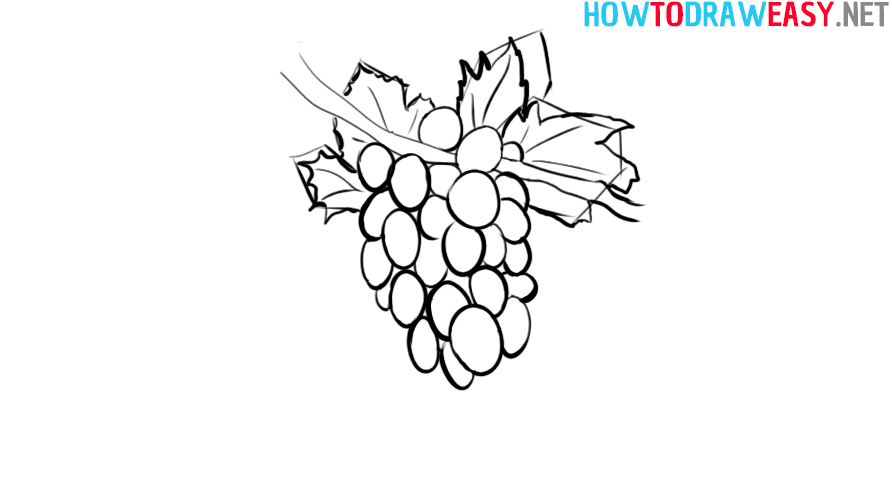
- Erase the baselines.
All the main parts of the vine are drawn, now you can erase the basic guidelines, leaving the drawing you want. If something went wrong, then take your time and fix all the mistakes.
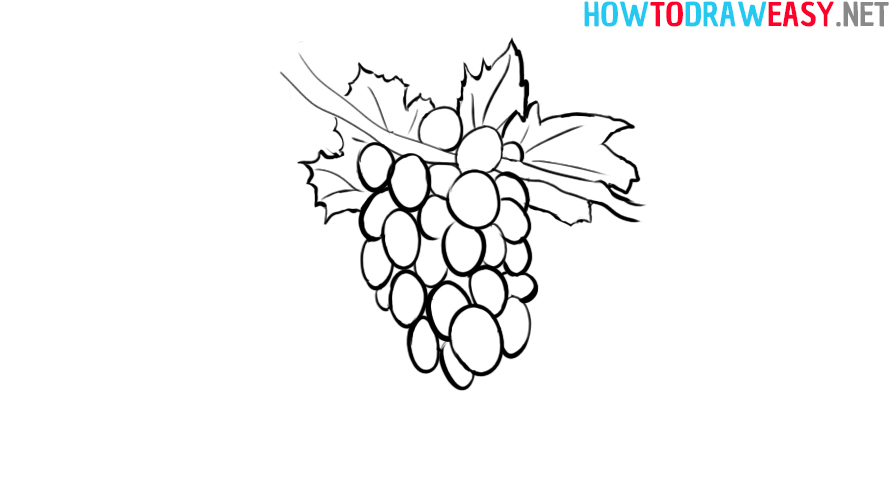
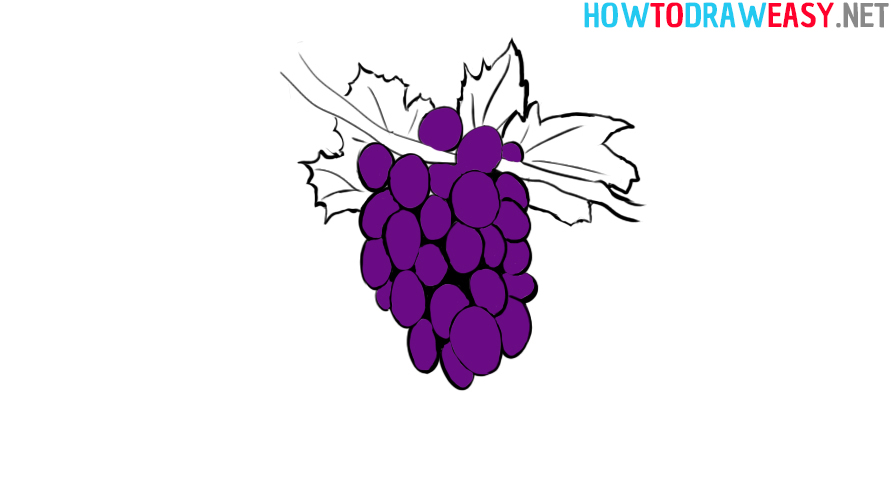
- Color the grapes.
The linear art sketch is ready, now we need to color the grapes. In our drawing, we painted the grapes in purple, but you can paint, for example, in green, or in another color that is natural for grapes.
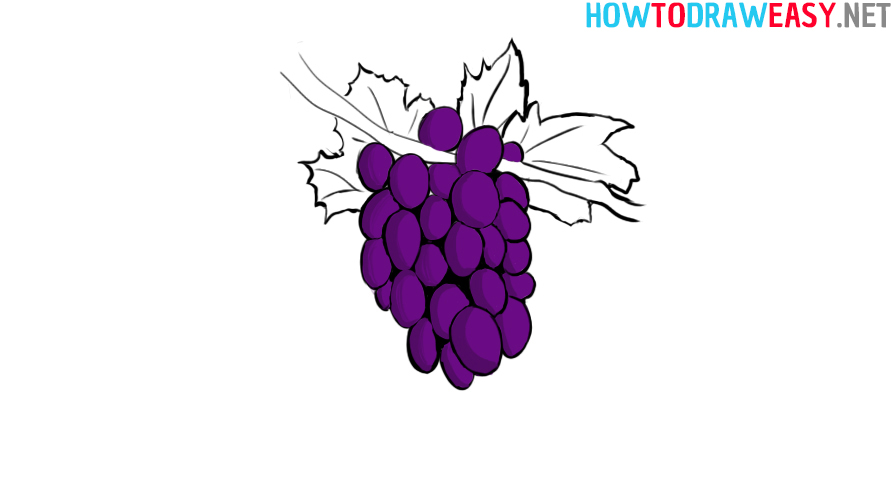
- Shadows.
Use a darker shade of the color you want, or just grab a pencil and add shadows to your artwork. You can see an example of how the shadows should look in this step.
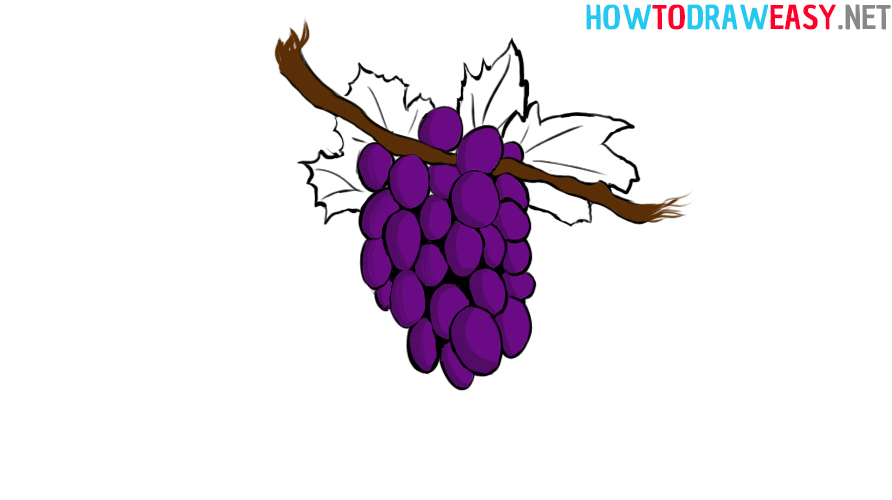
- Paint the wood twig.
Now you need to paint the branch brown.
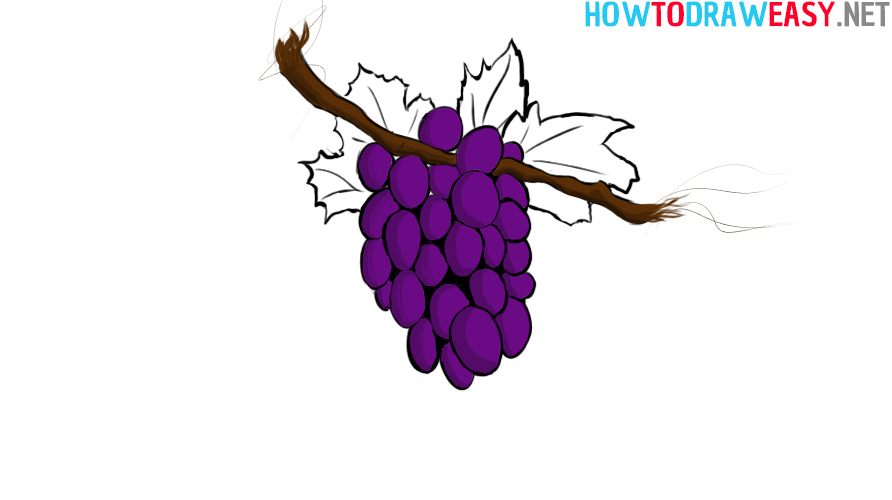
- Add some visual effects.
To keep the final art from looking too boring, you can add some visual effects to it. An example of such a visual effect is shown in this step.
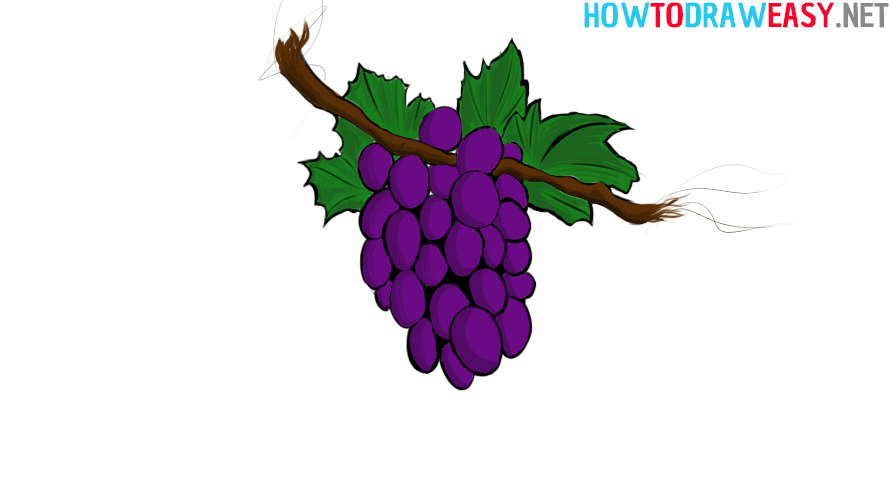
- Color the leaves.
Take a green marker, green pencil, or other favorite coloring materials and paint the leaves green.
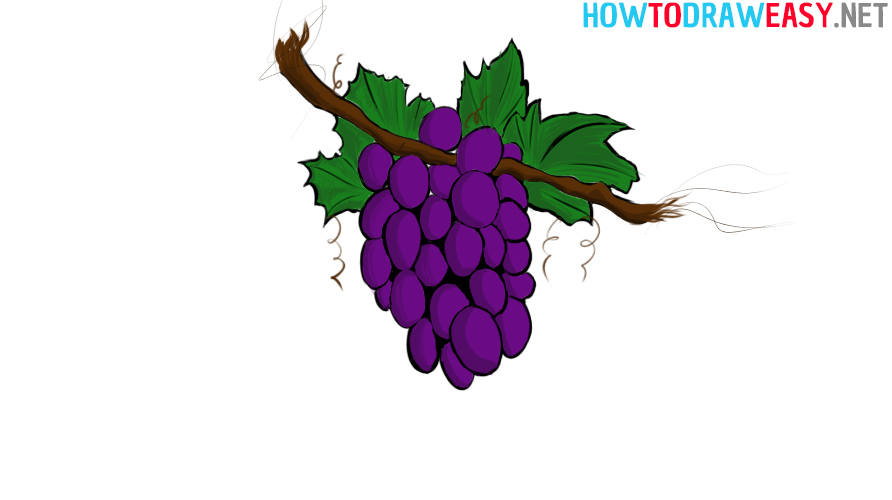
- Add details.
Add some detail to your art that will make the drawing look more natural and realistic.
How to Draw Grapes Step by Step
Source: https://howtodraweasy.net/how-to-draw-grapes/
0 Response to "How to Draw Grapes Step by Step"
Post a Comment